Wednesday 16 November 2011

Tamiya 1/35 U.S. M113A2 Armored Personel Carrier


This is my first 1/35 scale model and first Tamiya model. I must say that the quality of the Tamiya is excellent, and there is lots of detail and accessories which justifies the cost. Construction was quick and simple. The size meant no fiddly bits to do. I didn't have any Tamiya paint as I tend to build revell models, so I looked online for the conversions where possible. Otherwise I used desert coloured paint.

I airbrushed the paint on followed by shadings of different colours and tried to add a little sand, dust and rust to some areas. After adding the accessories, I did a final wash with thinned black paint. A bit risky, but the finished look is OK.

I haven't added this to a diorama, as i don't have any 1/35 accessories. I could only put it on a bed of sand, so I haven't bothered.

Next posting will be a diorama...just have to think of what to do.

Friday 11 November 2011

Diorama 2: ‘Go around’ 1/72


This took an age to finish, but I am really pleased with the end results. It is a diorama portraying a group of US soldiers and Shermans advancing along a road, only to find it blocked and mined. Therefore the squad are forced to find a new route through the field. 

It consists of two Revell Sherman M4A1 and US infantry figures.

All these items and scenery were purchased through an internet auction.

I started by priming everything on the spurs, then  building the two Shermans together finishing them with my airbrush. They looked straight out of the factory, so I had a go at weathering. After looking at tips on youtube, I gave them both a was of thinned black paint, then dry brushed silver to represent paint loss and scratches. The rear Sherman has its hatch open with a infantry soldier with his legs cut off and gun cut out so he looks like he’s made for the tank. The front Sherman has a few twigs collected from my local hedge inserted in the tracks with wall filler, painted brown and decorated to look like it is driving through.

The soldiers were simply primed and painted in army greens and browns. I added some light brown around the boots, legs and jackets to represent a muddy uniform.

The base was made with wall filler to represent the uneven field. The hedge was a long mound of putty with twigs stuck in. Once that was dired I painted it and applied a layer of model soil. The greenery was made with lichen – which loos quite good. The road was a simple layer of model gravel. A light colour to contrast the dark field. The grass verge has turned out ok, but could be better. It is wall filler with bristles from a paint brush  glued in . Some model grass has been added, but I think it is too dark.

Revell: North Sea Fishing Trawler 1/142


I bought this model from an internet auction. It was a simple construction and I again primed the pieces first, painted the hull with a brush and constructed the kit. It was annoying that most of the colours for this kit required mixing others together. The end model has turned out good. The level of detail is a little basic and I again bottled out of trying to weather the finished model. I did not want to spoil the finish.

The two little sailors have red overcoats on – not the recommended bright yellow. This is because I had red paint from the Queen Mary and didn’t want to buy a new tin of yellow for this little amount.

Diorama: ‘Hold position’ 1/72


My first ever diorama.

All these items were bought though internet auction

I used Revell StuG 40 Auf.G.. and German troops from Revell 'Deutshe Artillerier'… and some ruin walls and sandbags form Italeri walls and ruins no. 6087.

I first primed the tank then built it fully. I painted it all with a brush, and must admit the finish is not great. The camouflage doesn’t look realistic and there is no weathering. But it is the third tank I have ever made and the first in a few years! I added a soldier in the hatch by cutting the legs off an officer and using some putty to attach him. It looks quite good and has the effect of the tank about to fire.

The ruins are supposed to represent a house. I painted the corner ruin, filled the inside with model putty to represent wall plaster, then made an upstairs floor using sticks of drink stirrers. The rubble is a collection of bought model diorama gravel and some from outside in the road which has a nice weathered effect.

The other soldiers are set up in a defensive position representing the squad is holding a position in the ruined house.

Revel|: Oil Tanker “Glasgow” 1/400


I put a lot of effort into this model and it has paid off. I first primed the whole kit with basic white primer from a standard shop. Then applied around six coats of green paint to the deck. I decided to paint all the deck pipes grey – which took some time.  I used a brush to paint the Hull, as I my spray brush valve broke. The finish has turned out fine.  Construction was simple and the level of detail is ok. I think the ropes made form yellow cotton adds a great finish.

Revell: Queen Mary 1/570


I bought this kit form ModeZone. I had purchased a second hand spray brush powered by cans of compressed air and used it on the hull of the ship, with surprisingly good results. This was the first Kit that I primed prior to assembly and it has given a better finish. I completed this kit but gave up when it came to adding all the cables made from black cotton. I lost interest in the model as I had another project to start and frankly I was disappointed in the level of detail this 1/570 kit had. It seems basic and more toy like than realistic. The kit was not of good quality with lots of ‘waste’ plastic around the parts.

Thursday 10 November 2011

Revell 'BattleshipTirpitz' Scale 1/700


This is the first Model I have built since re-starting my hobby. I bought this kit from the  ModelZone shop and completed it within about 2 weeks using the suggested Revell paints. I liked the detail on this model and it was a good kit to build. I made the mistake of not priming first...something I have never done. Still, it has turned out ok. The finish is at an ok standard. I rushed it a bit. Since building, it has had a knock off the table by my excitable dog, so I have had to make a few repairs, but you cant tell.

List of Models to Bulid

1/35
Tamiya German Motorcycle orderly set
Tamiya British Stretcher party
Revell Opel Maultier
Tamiya German Infantry Set "Battle of Bulge"
Tamiya German Army Infantry
Tamiya Gernam Troops on bycicles
 German Infantry Wepons set
 Barracade set
 Sand bags

1/72
Revell U.S Infantry
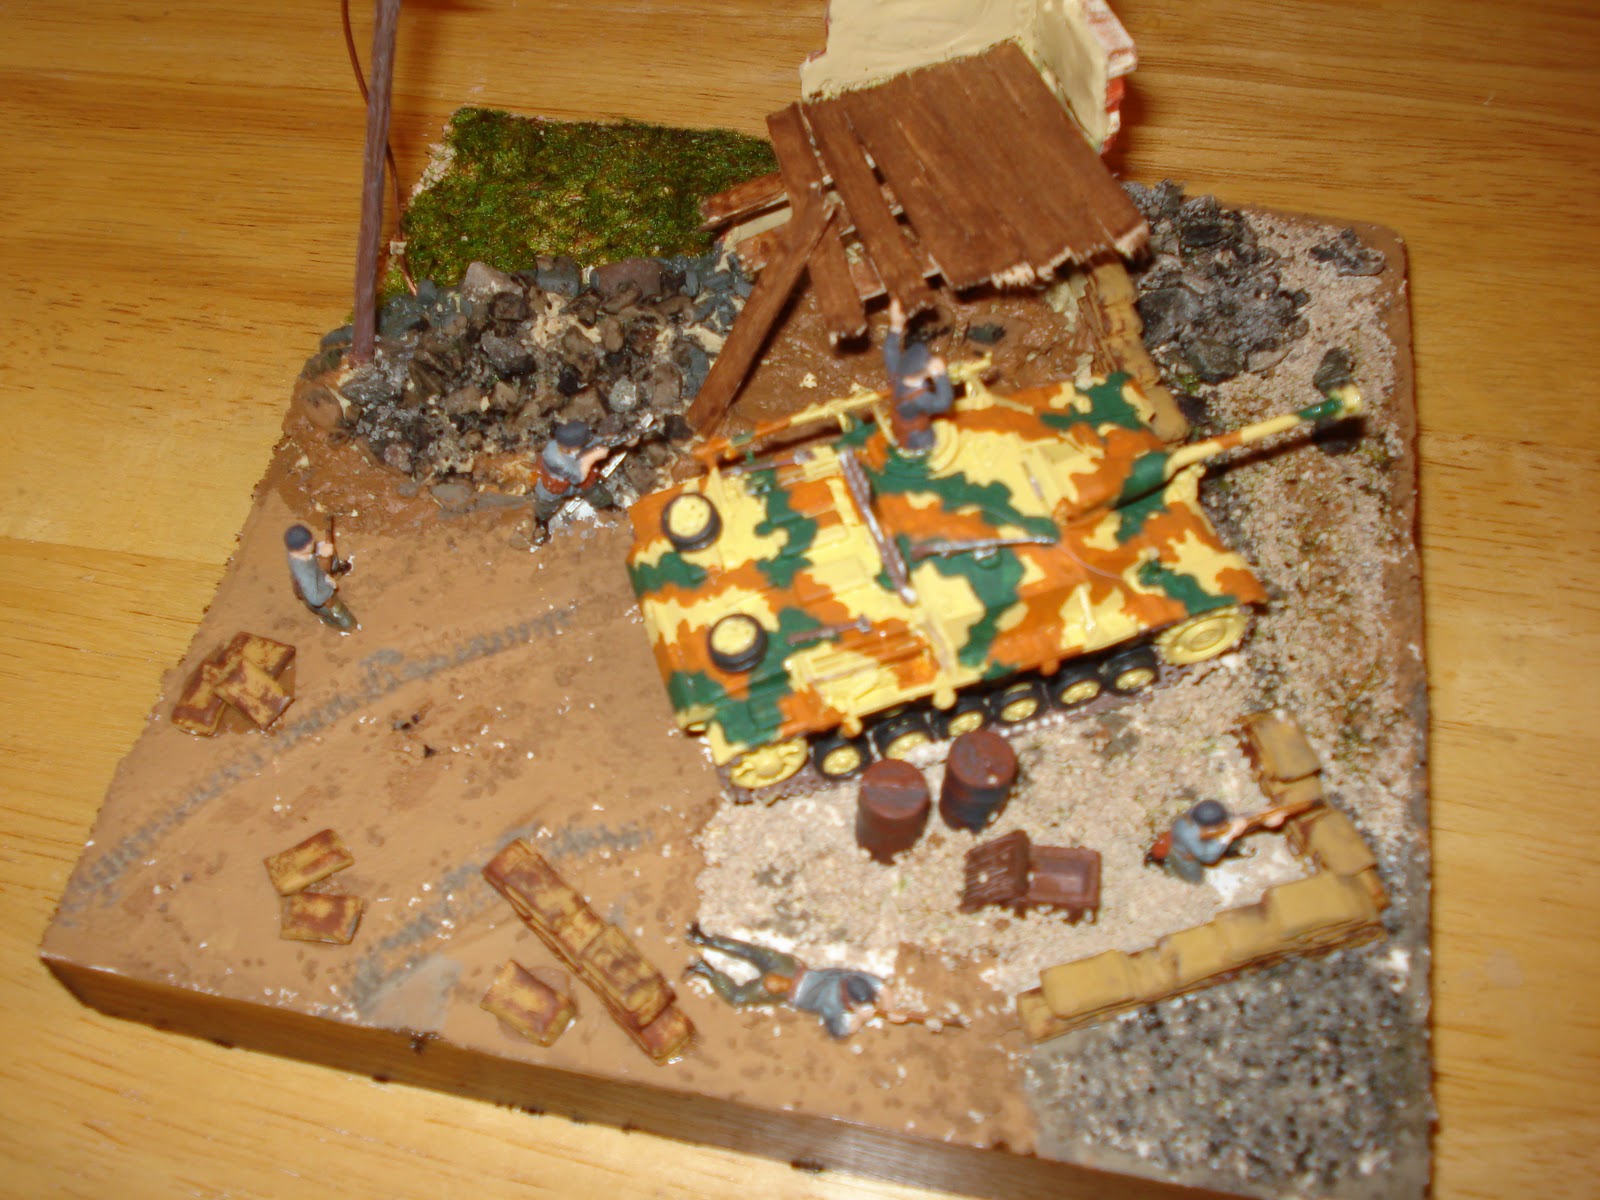
Revell Jagdpanther & Gernam infantry
Revell German infantry and artillery
Revell Tiger I Ausf and infantry (Winter)
 German 88mm Gun Flak 18
Hasegawa Fuel truck isuzu TX-40
Italeri Walls and ruins
Italeri Battlefield Accessories
Superquick Country church
HQ72 Wooden Beam house
HQ72 Stone Building Ruin
HQ72 Mideast corner garage ruin

1/72 Aircraft
Airfix Mitsubishi Zero A6M2b
P51 Mustang


1/76
Airfix Jungle Outpost
Airfix European town house
Revell M24 Chafee tank


Misc
Revell Robert E.Lee Steamboat
Revell Titanic
Airfix Titanic
Airfix HMS Belfast
Revell German U-Boat class206A
Revell Rolls Royce Phantom I
Airfix Westland Sea King - bits missing
Airfix HMS Discovery
revel HMS Beagle

Introduction

Welcome to my Blog of my Modelling hobby. I am an Amateur modeller who enjoyed making several different types of models when I was young, and after many years I am again now building them.

I like to make different types of Models, especially Ships/Boats and Military Tanks/Vehicles. I don't usually build Aircraft as they tend to have less detail to work with, due to the aerodynamic nature of the vehicle.

I am trying to improve my skills and techniques with practice and time. I am always looking for better ways to construct the models and paint/weather them. I like to try new techniques and am on a big learning curve.

I hope to list details and photos of each model/diorama  I build in chronological order.